[LearnTogether✨] 프로젝트 환경설정 및 템플릿 적용
프로젝트 환경설정
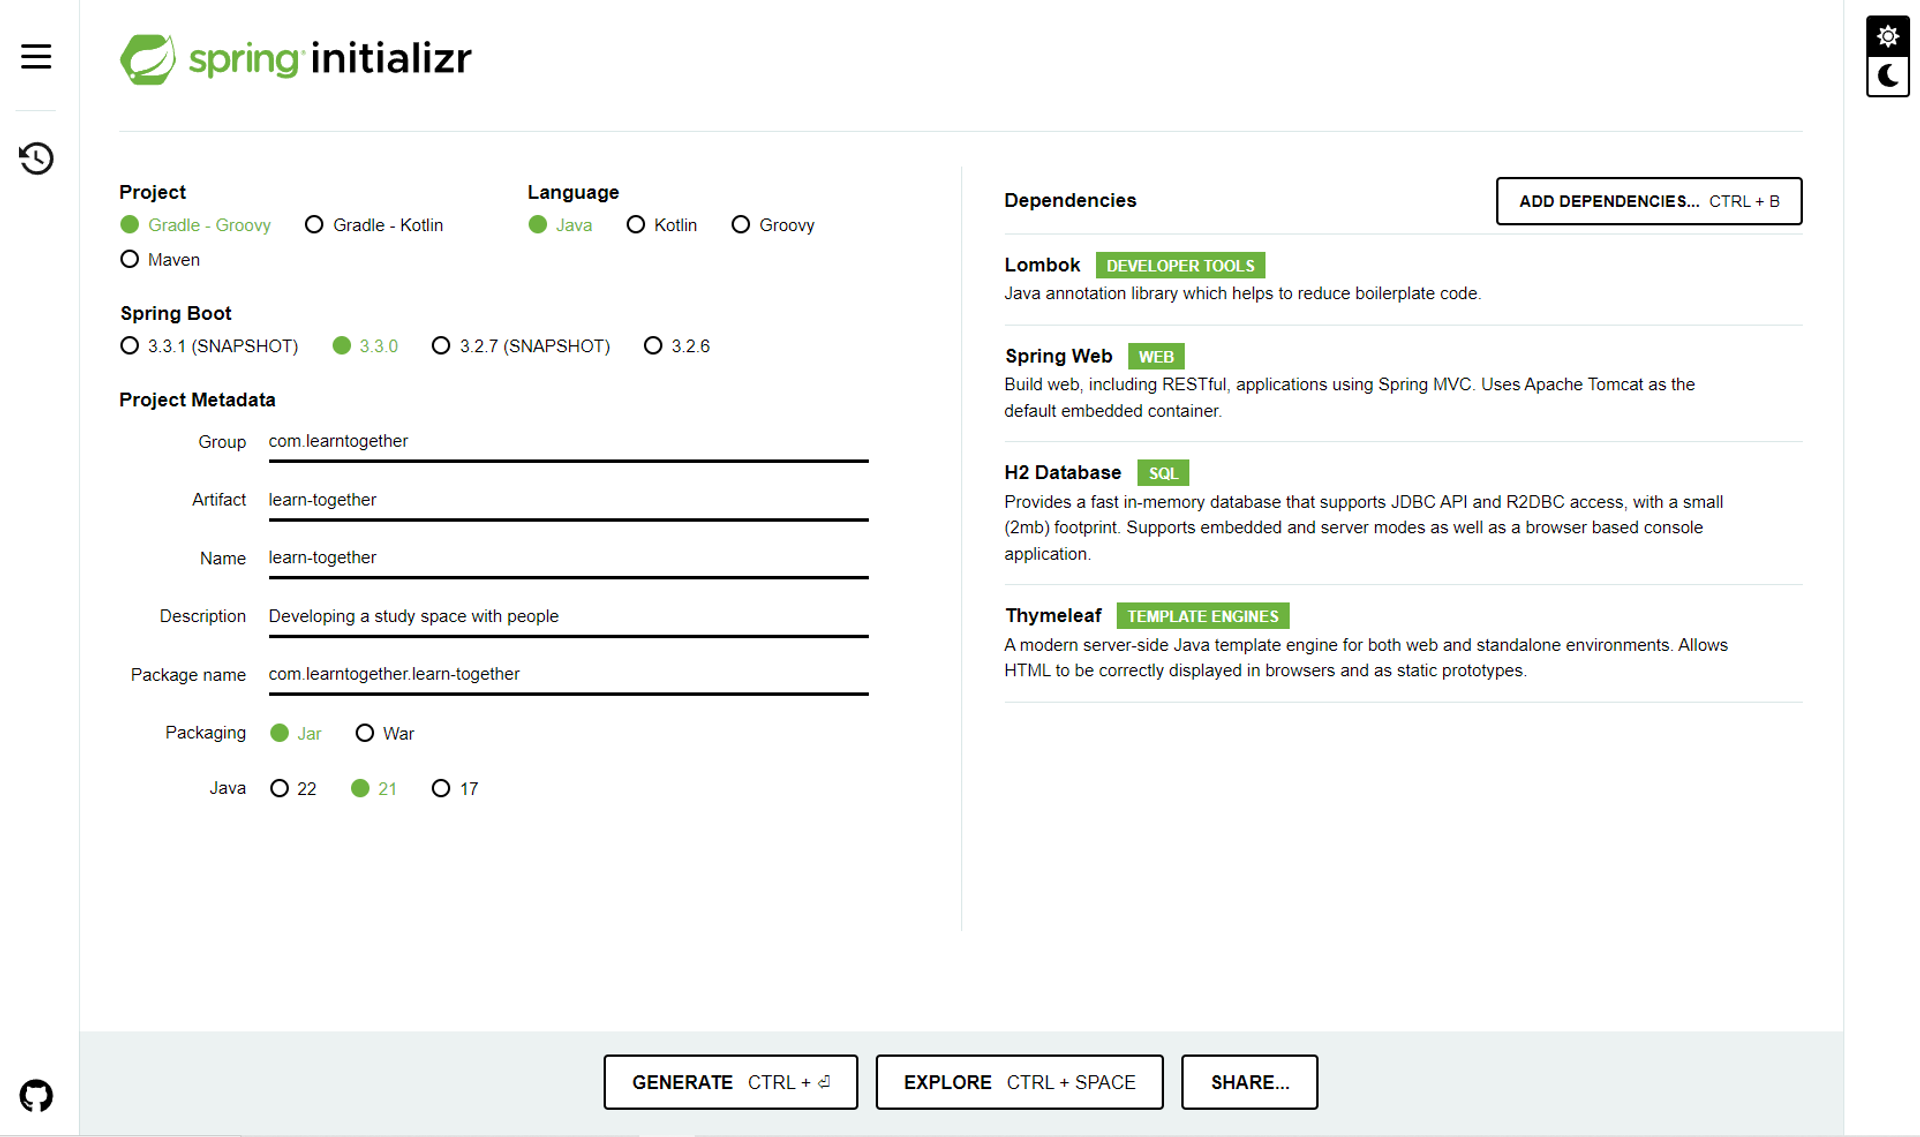
프로젝트는 스프링 부트를 활용해 생성했다.
Project: Gradle - Groovy
Language: Java
Spring Boot: 3.3.0
Packaging: Jar
Java: 21
Dependencies
Spring Web
웹 애플리케이션을 구축하기 위한 기능을 제공한다. 주로 Spring MVC(Model-View-Controller) 패턴을 기반으로 하며, RESTful 웹 서비스와 웹 애플리케이션을 쉽게 만들 수 있도록 지원한다.
Spring의 기능을 사용하기 위해 의존성에 추가했다.
H2 Database - DB
인메모리 관계형 데이터베이스로, 주로 개발과 테스트 환경에서 사용한다. 빠른 설치와 설정과 웹 기반 콘솔이 장점이지만 애플리케이션 종료 시 데이터가 사라지는 단점이 있다.
개발 과정에서 데이터의 변화를 빠르게 확인하기 위해 사용하기로 했다.
Thymeleaf - Template Engine
Spring에서는 템플릿 엔진으로 Thymeleaf를 사용하기를 권장하고 있다. Thymeleaf를 사용함으로써 얻을 수 있는 장점은 다음과 같다.
- HTML5 표준을 준수해 브라우저에서 직접 확인할 수 있다.
- 강력한 Spring 통합
- 예를 들어, Spring MVC의 폼 처리를 다음과 같이 쉽게 구현할 수 있다.
1
2
3
4
5
6
7
8
9
10
11
12
13
14
15
16
@Controller
public class UserController {
    @GetMapping("/register")
    public String showRegistrationForm(Model model) {
        model.addAttribute("user", new User());
        return "register";
    }

    @PostMapping("/register")
    public String registerUser(@ModelAttribute User user, Model model) {
        // 사용자 등록 로직
        model.addAttribute("message", "User registered successfully");
        return "result";
    }
}
1
2
3
4
5
6
7
8
9
10
11
12
13
14
15
16
17
18
19
<!DOCTYPE html>
<html xmlns:th="http://www.thymeleaf.org">
<head>
    <title>Register</title>
</head>
<body>
    <h1>Register</h1>
    <form th:action="@{/register}" th:object="${user}" method="post">
        <label for="username">Username:</label>
        <input type="text" id="username" name="username" th:field="*{username}" />
        <br/>
        <label for="password">Password:</label>
        <input type="password" id="password" name="password" th:field="*{password}" />
        <br/>
        <button type="submit">Register</button>
    </form>
</body>
</html>
1
2
3
4
5
6
7
8
9
<!DOCTYPE html>
<html xmlns:th="http://www.thymeleaf.org">
<head>
    <title>Result</title>
</head>
<body>
    <h1 th:text="${message}">Placeholder result message</h1>
</body>
</html>
- Spring의 검증 기능과 통합되어 폼 유효성 검사 및 오류 메시지 처리를 쉽게 구현할 수도 있다.
1
2
3
4
5
6
7
8
9
10
11
12
13
14
15
16
17
18
19
20
21
<!DOCTYPE html>
<html xmlns:th="http://www.thymeleaf.org">
<head>
    <title>Register</title>
</head>
<body>
    <h1>Register</h1>
    <form th:action="@{/register}" th:object="${user}" method="post">
        <label for="username">Username:</label>
        <input type="text" id="username" name="username" th:field="*{username}" />
        <span th:if="${#fields.hasErrors('username')}" th:errors="*{username}">Invalid Username</span>
        <br/>
        <label for="password">Password:</label>
        <input type="password" id="password" name="password" th:field="*{password}" />
        <span th:if="${#fields.hasErrors('password')}" th:errors="*{password}">Invalid Password</span>
        <br/>
        <button type="submit">Register</button>
    </form>
</body>
</html>
Bootstrap Template 적용하기
사람도 첫인상이 중요하듯 웹 페이지도 첫인상이 중요하다.
사용자의 발걸음을 일단 멈추게 만드는 건 역시 예쁜 디자인이라고 생각한다. 계속 사용할지 말지는 기능이 책임지는 거지만.
어쨌든 나는 원하는 기능 개발에만 집중하고 싶었고, 내가 만든 화면이 예쁠 거라는 보장이 없기 때문에 프론트엔드는 템플릿을 사용하기로 했다.
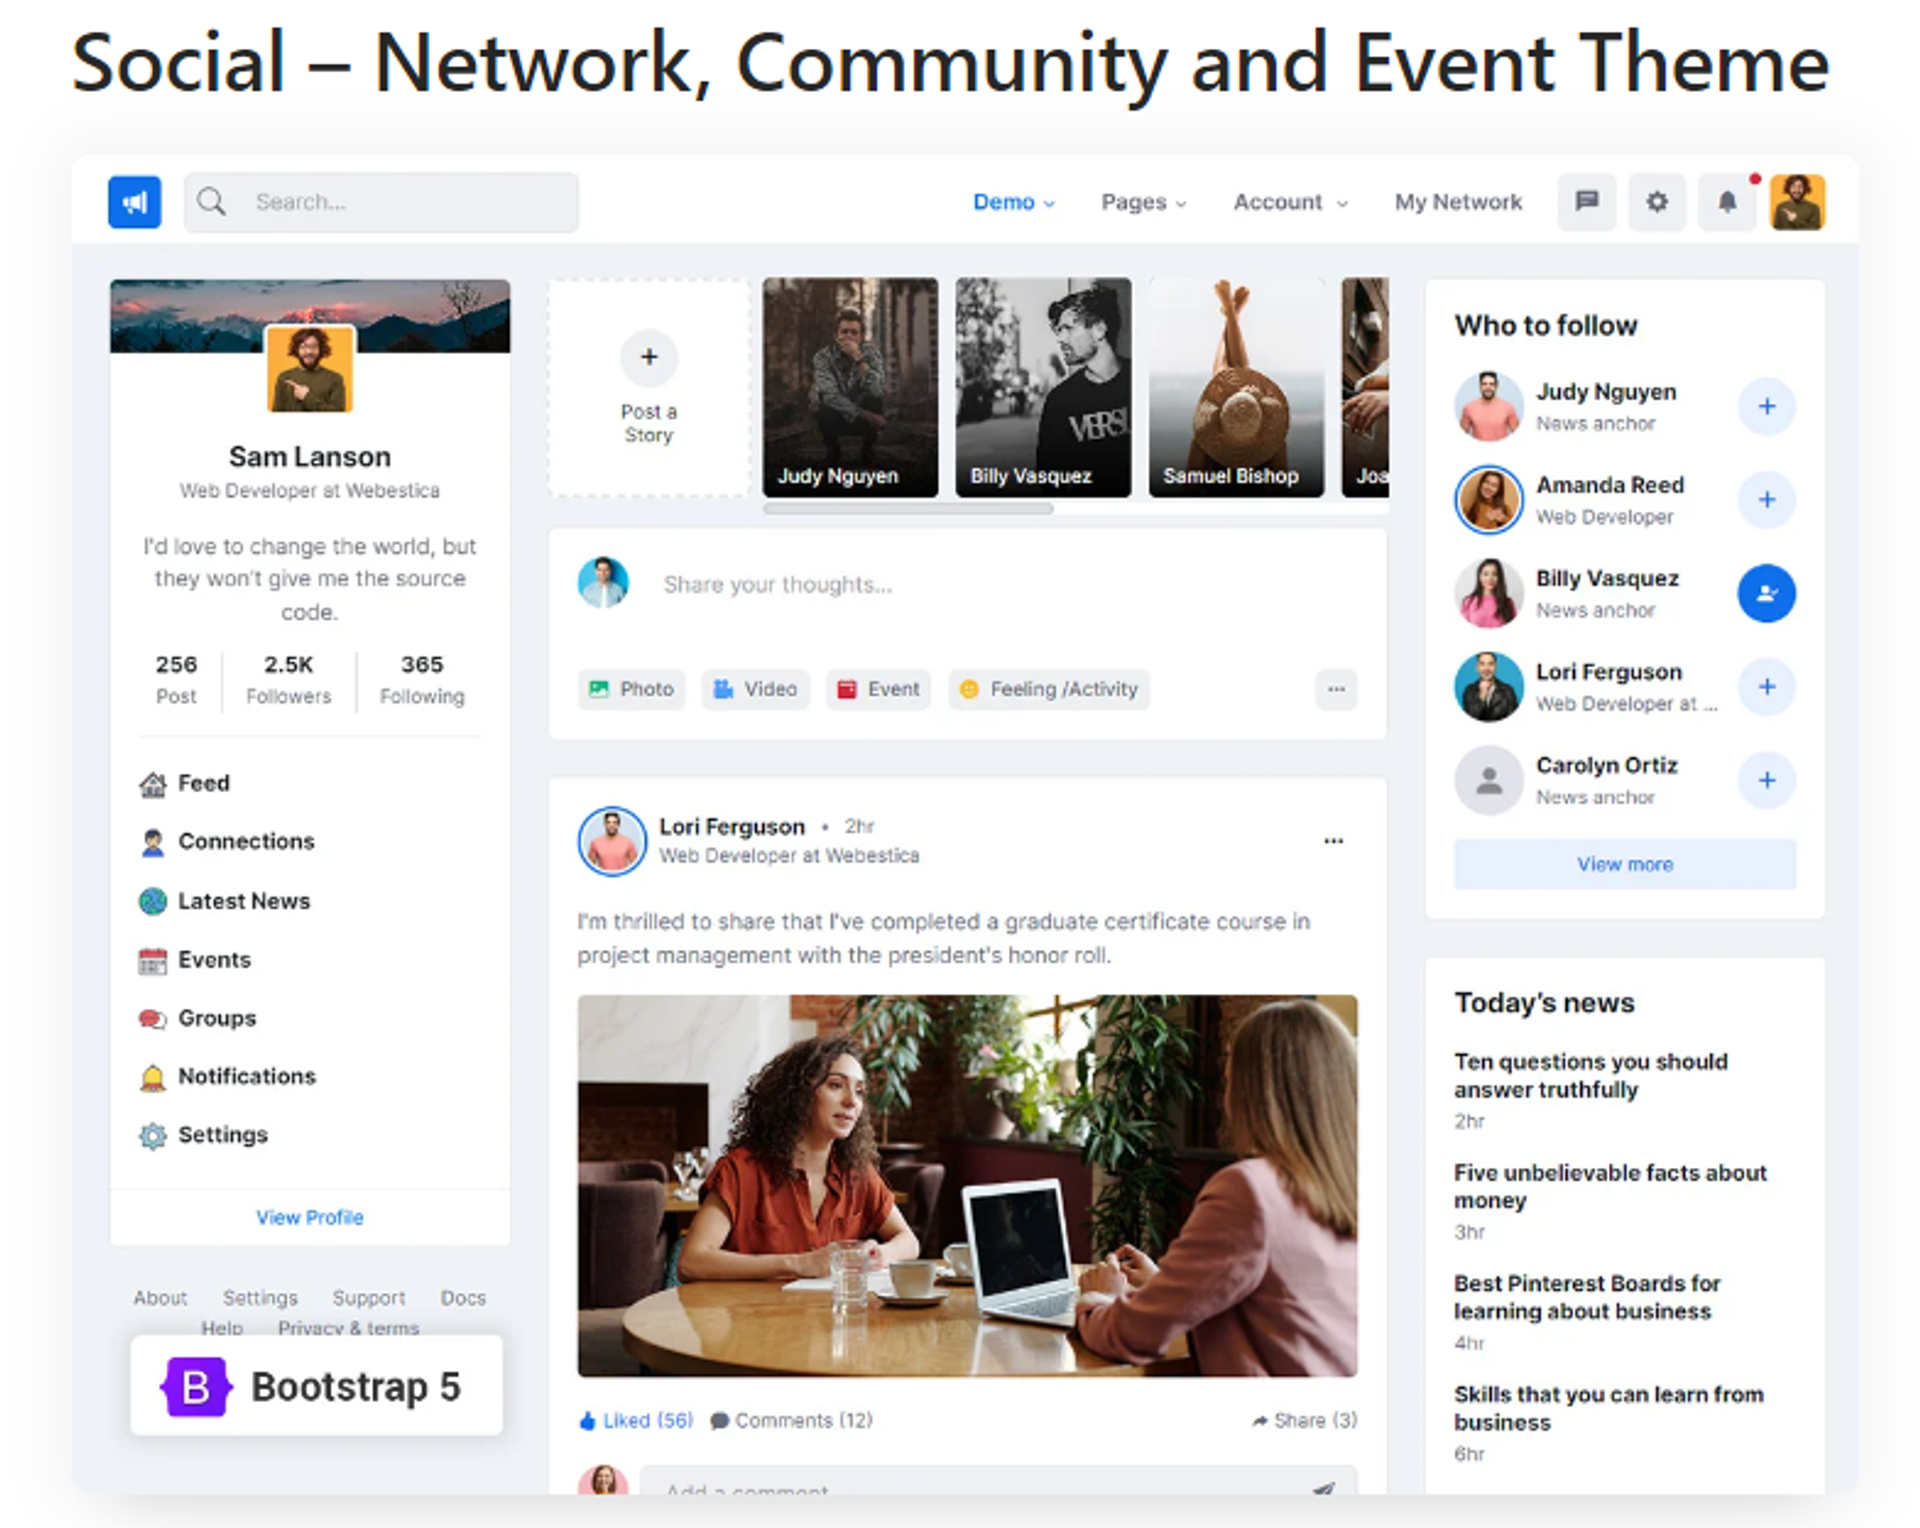
최종 목표는 스터디 커뮤니티를 만드는 것이기 때문에 가장 적합해 보이는 템플릿을 골랐다. 약간 링크드인이나 페이스북 같은 느낌?
해당 템플릿은 여기에서 다운받았다.
거금 $49가 들었다
어쨌든, 이렇게 구매한 템플릿을 이제 방금 만든 내 프로젝트에 적용시켜 보자.
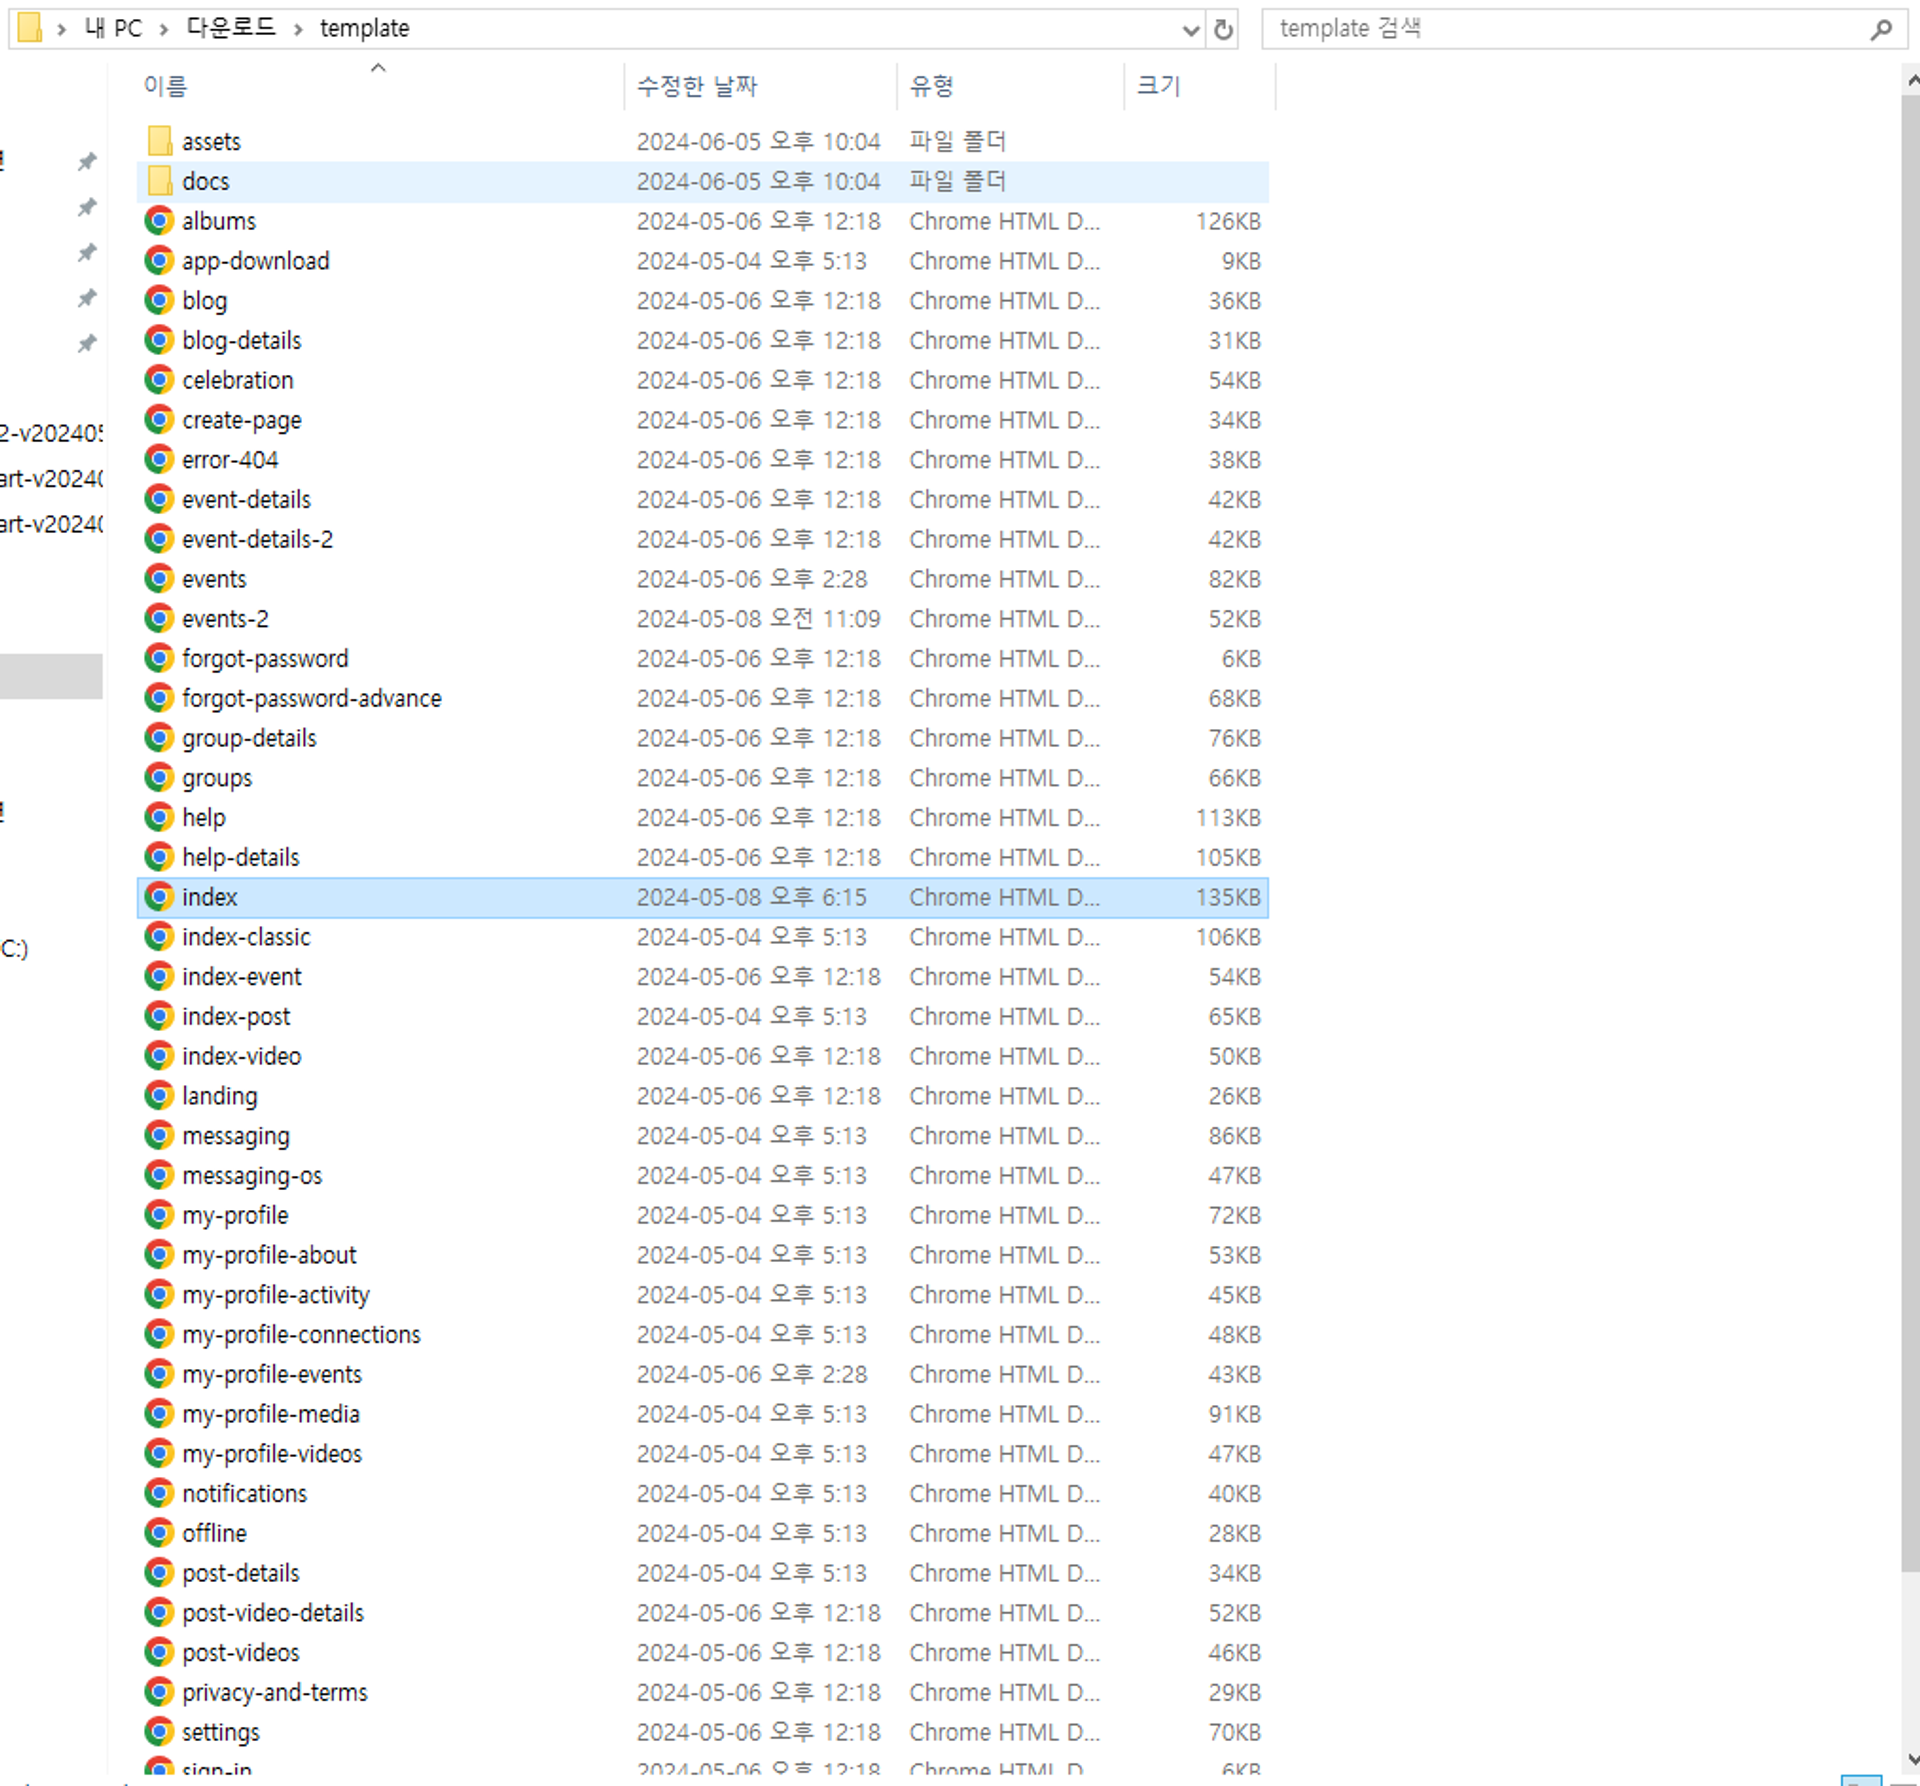
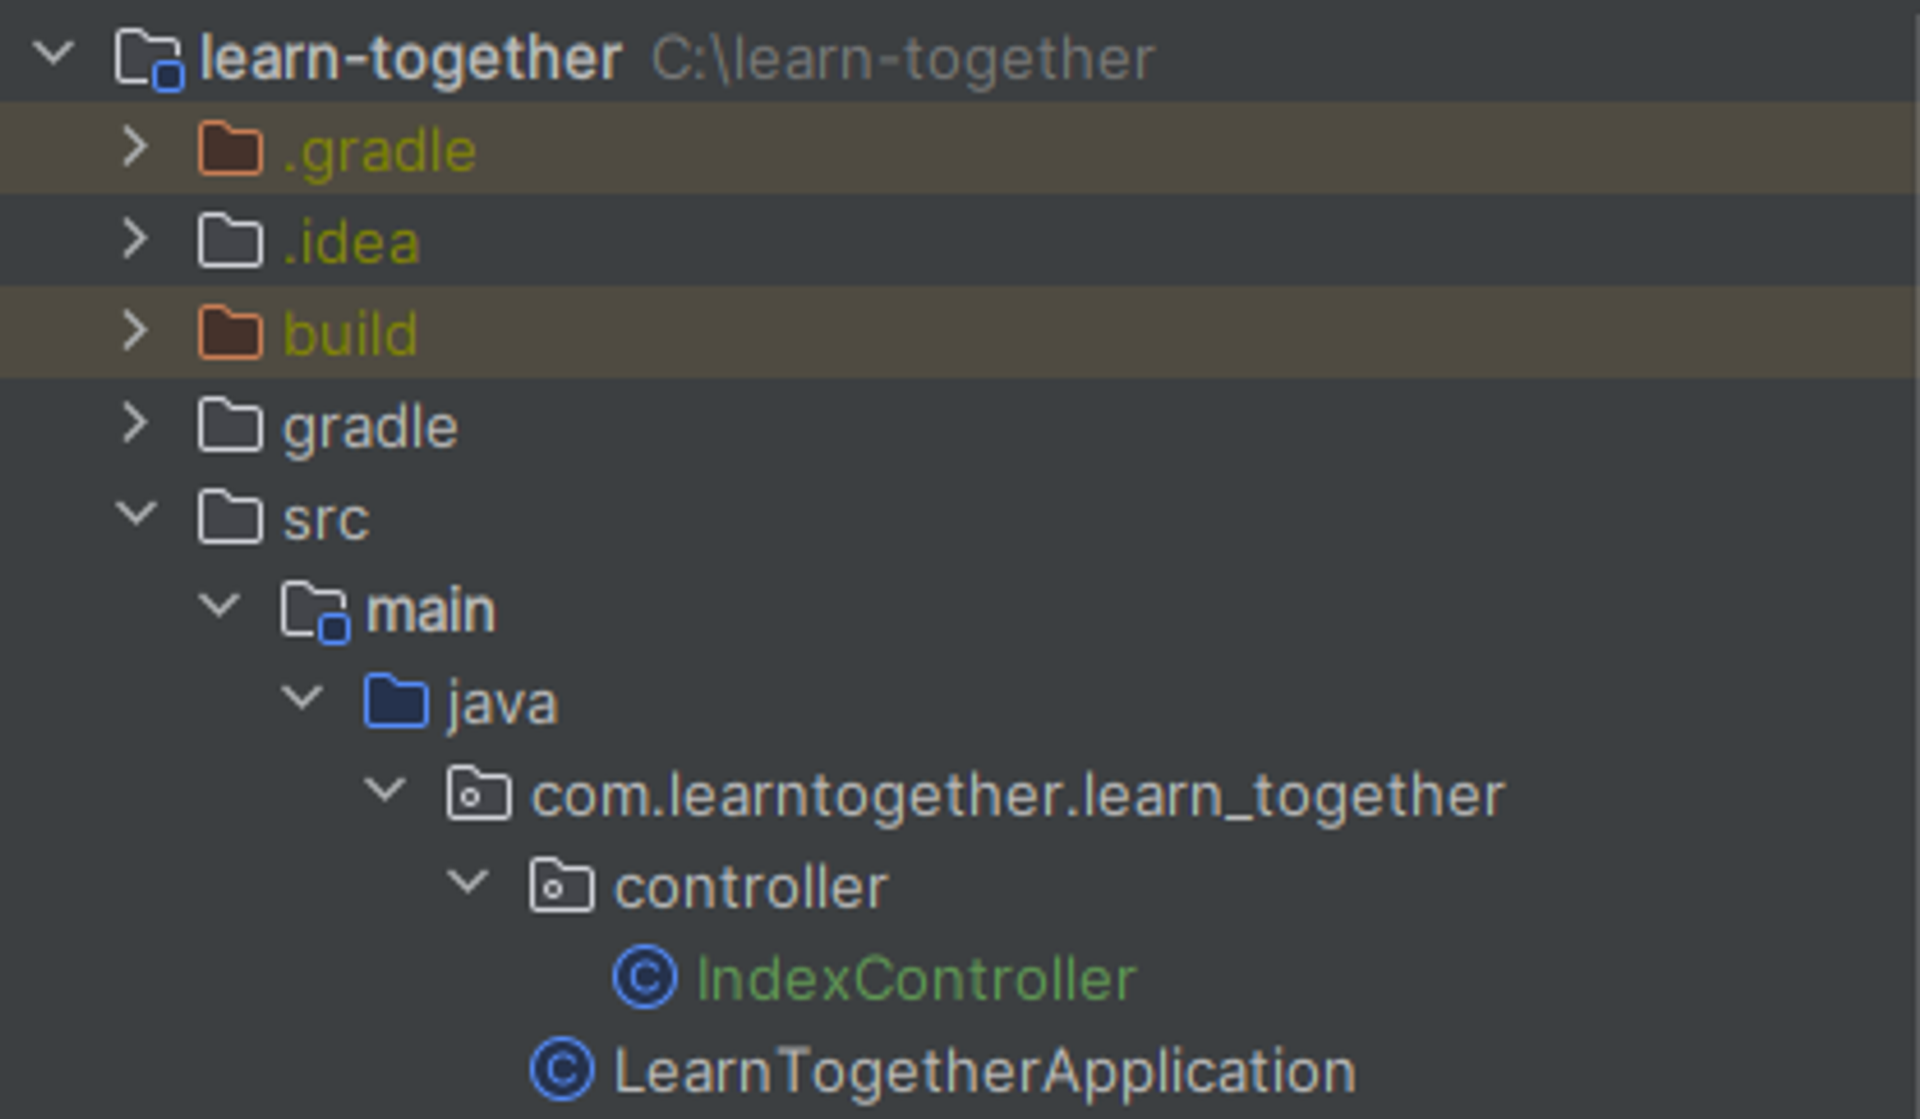
템플릿을 다운로드 받아 압축을 풀면 다음과 같은 구조로 되어있음을 확인할 수 있다. 이제 여기 있는 html 파일들을 /src/resources/templates 안에 옮겨준다.
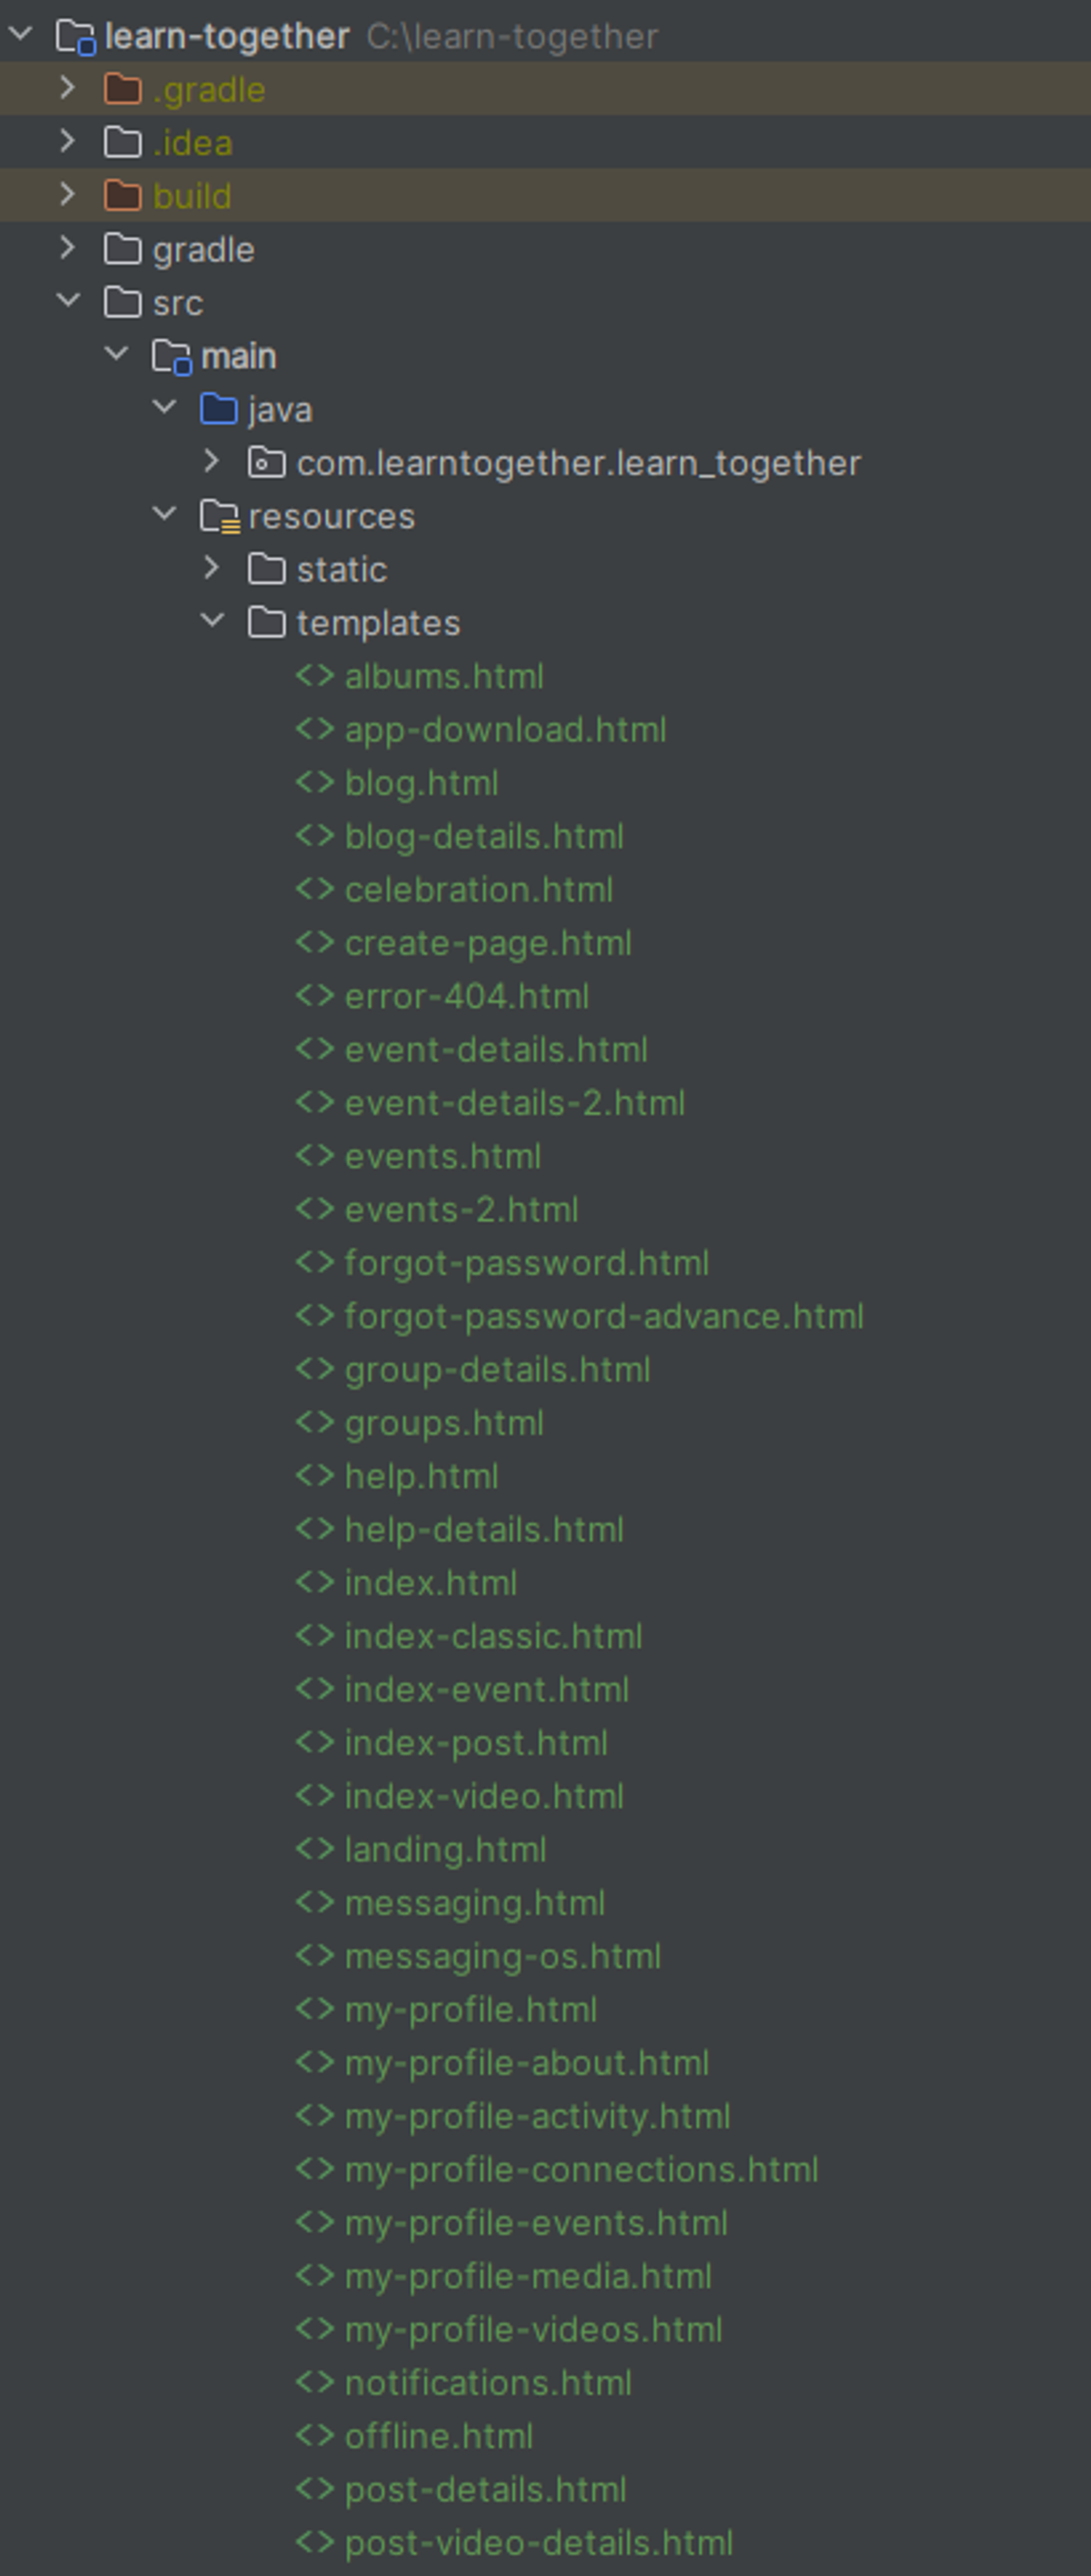
나중에 기능 별로 폴더를 사용해 정리할 수도 있겠지만, 지금은 일단 두자. 이제 Controller를 만들어 해당 페이지를 실행시켜보자.
1
2
3
4
5
6
7
@Controller
public class IndexController {
    @GetMapping("/")
    public String index() {
        return "index";
    }
}
- 웹 브라우저에서 index URL(/)을 요청한다. → GET 방식
- 스프링 부트의 내장 톰캣 서버에서 해당 요청을 받아 스프링 컨테이너에 전달한다.
- 해당
@GetMapping어노테이션을 가지고 있는 메서드가 실행된다. viewResolver가 return 값에 해당하는 문자열을resources/templates에서 찾아 렌더링한다.- 스프링 부트 템플릿엔진 기본 viewName 매핑은
resources:templates/+ {viewName} +.html
- 스프링 부트 템플릿엔진 기본 viewName 매핑은
위와 같은 과정을 통해 index.html 파일이 보여지게 된다.
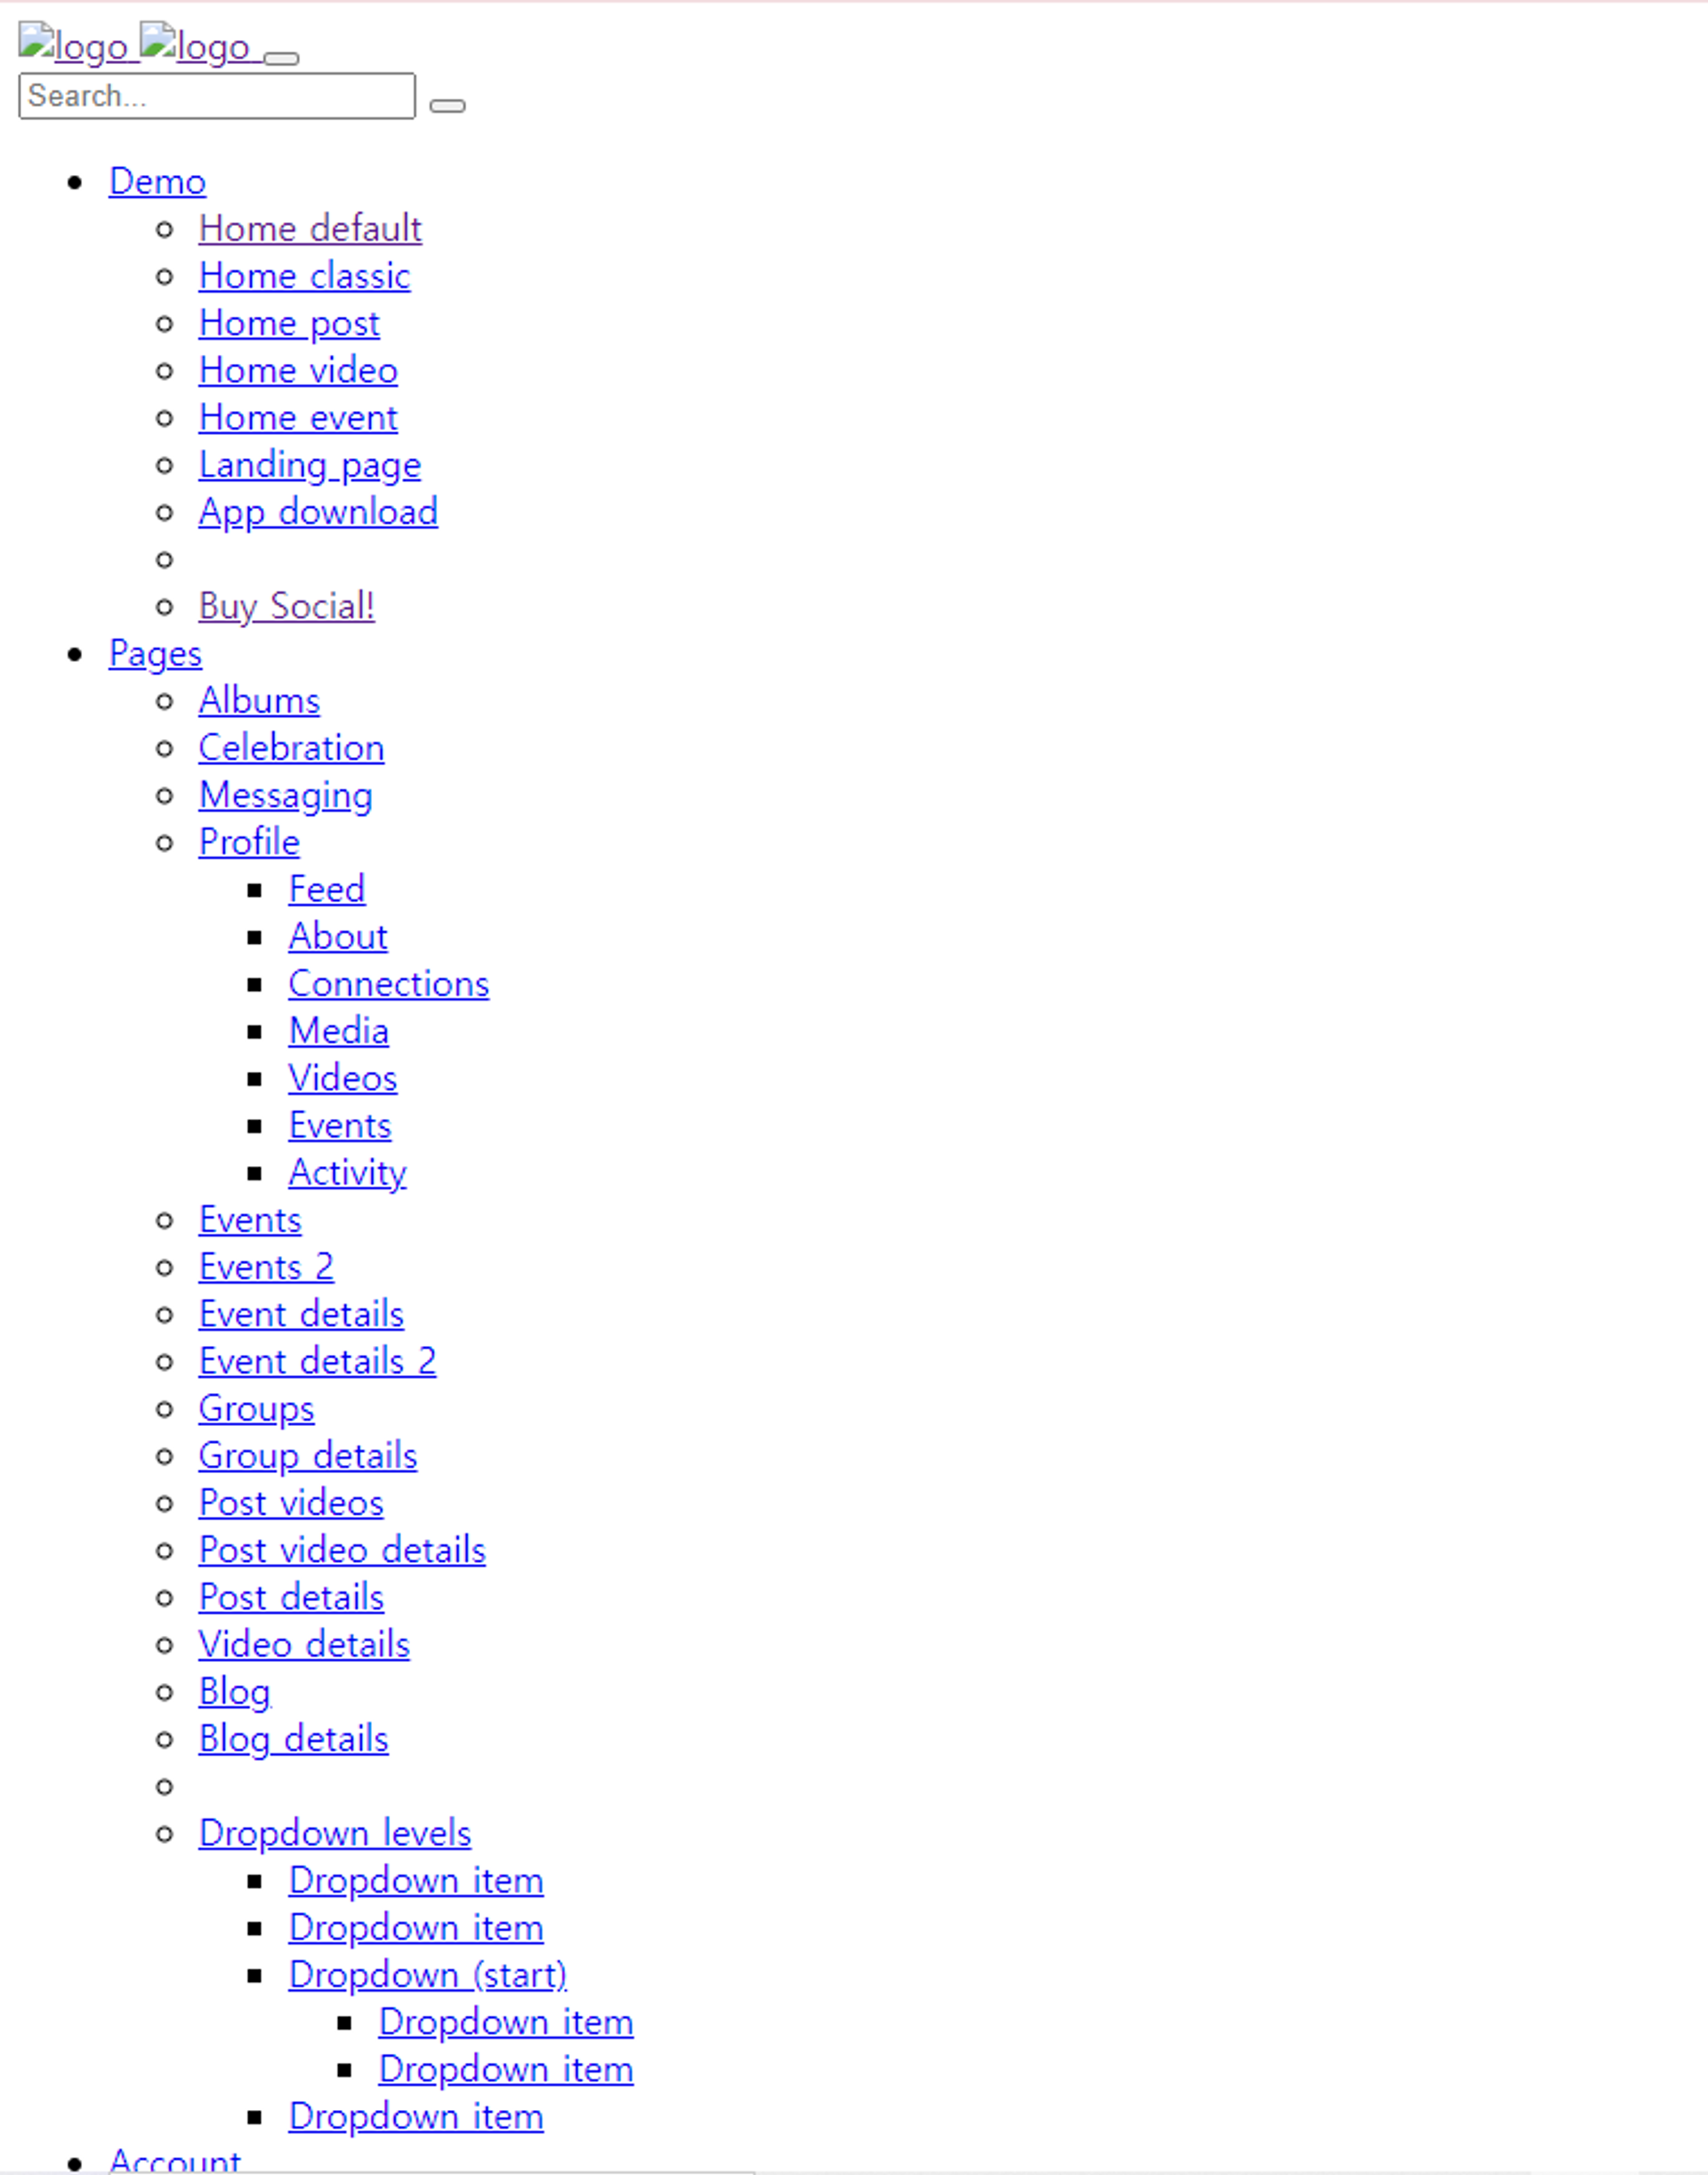
그런데 예상과는 다른 화면이 출력된다. 내가 구매한 페이지는 이런게 아니얏..!

호다닥 index.html 파일로 들어가준다.
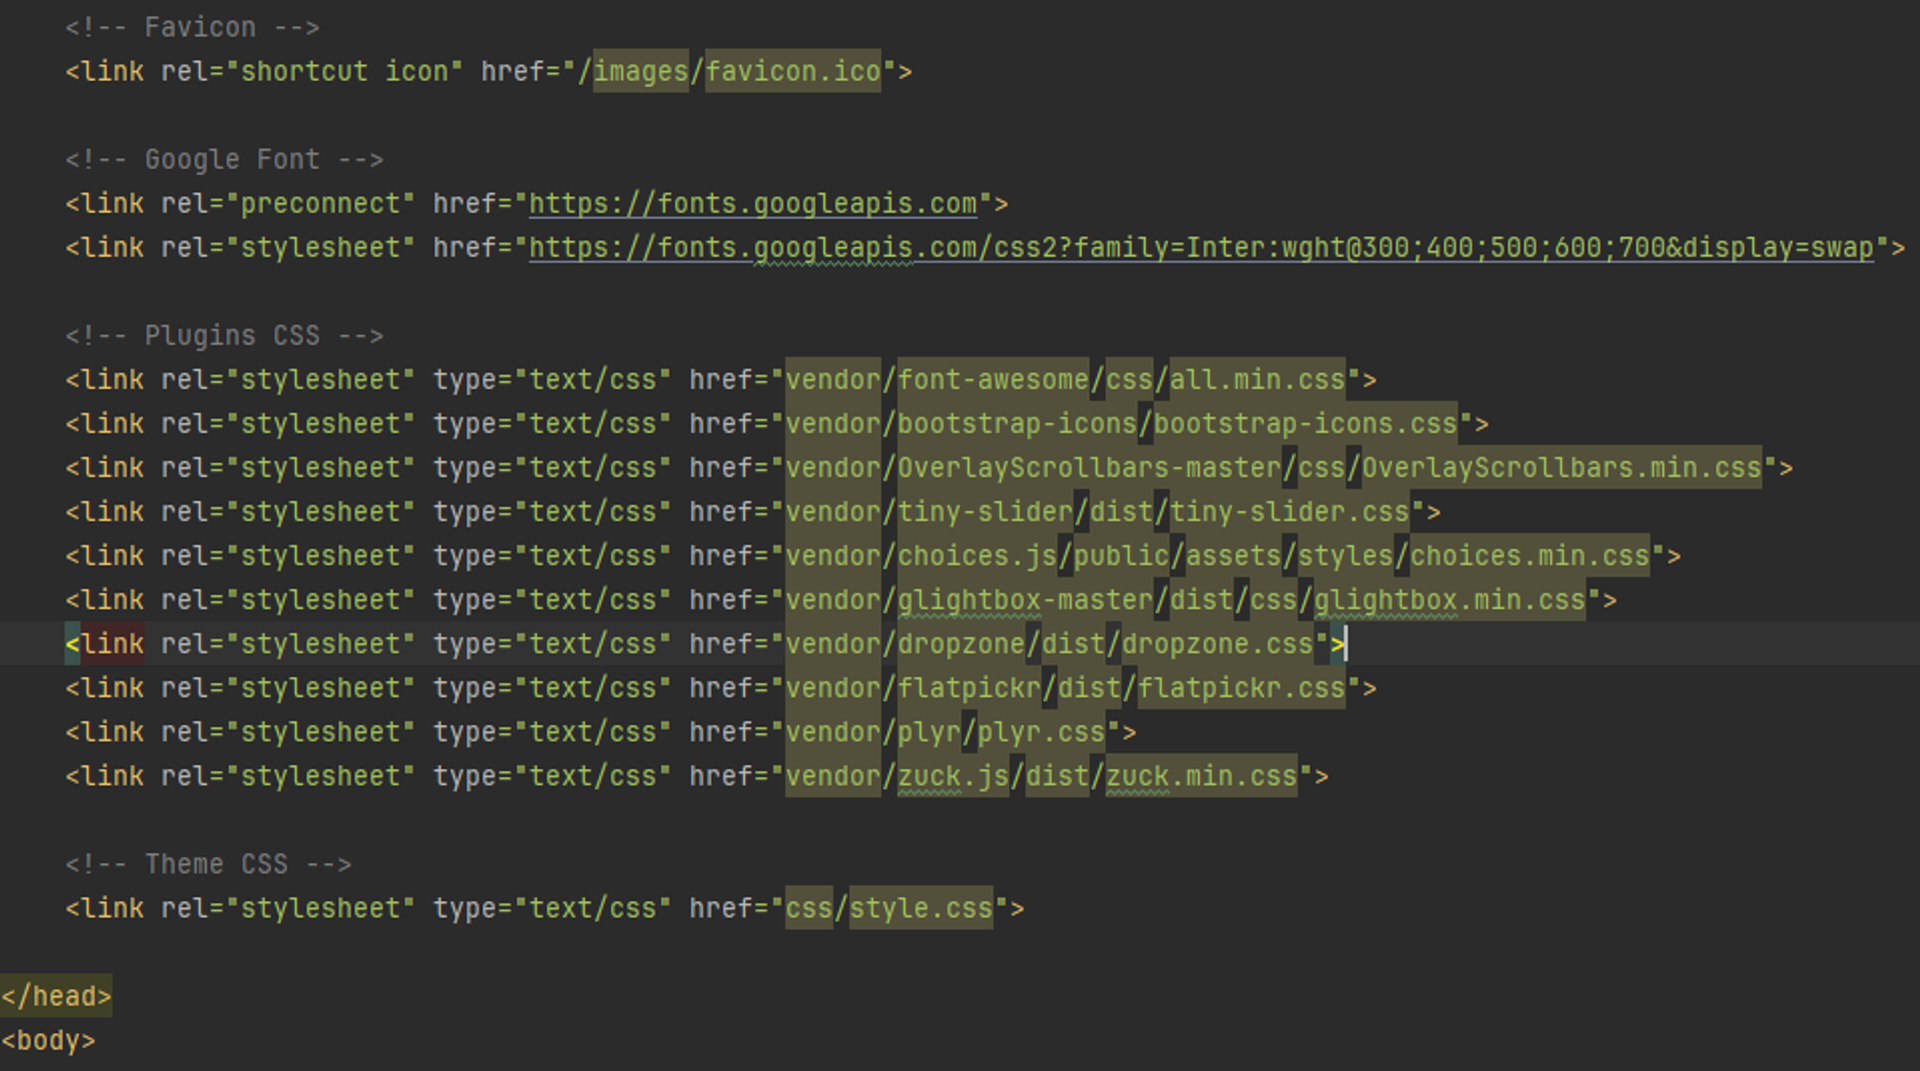
위 사진은 수정된 경로지만, 나의 경우 위의 경로들이 모두 절대 경로로 되어 있었다. ../../Desktop/Users/경로명/경로명 처럼!
이 경로를 현재 프로젝트 경로에에 맞게 바꿔주어야 했다.
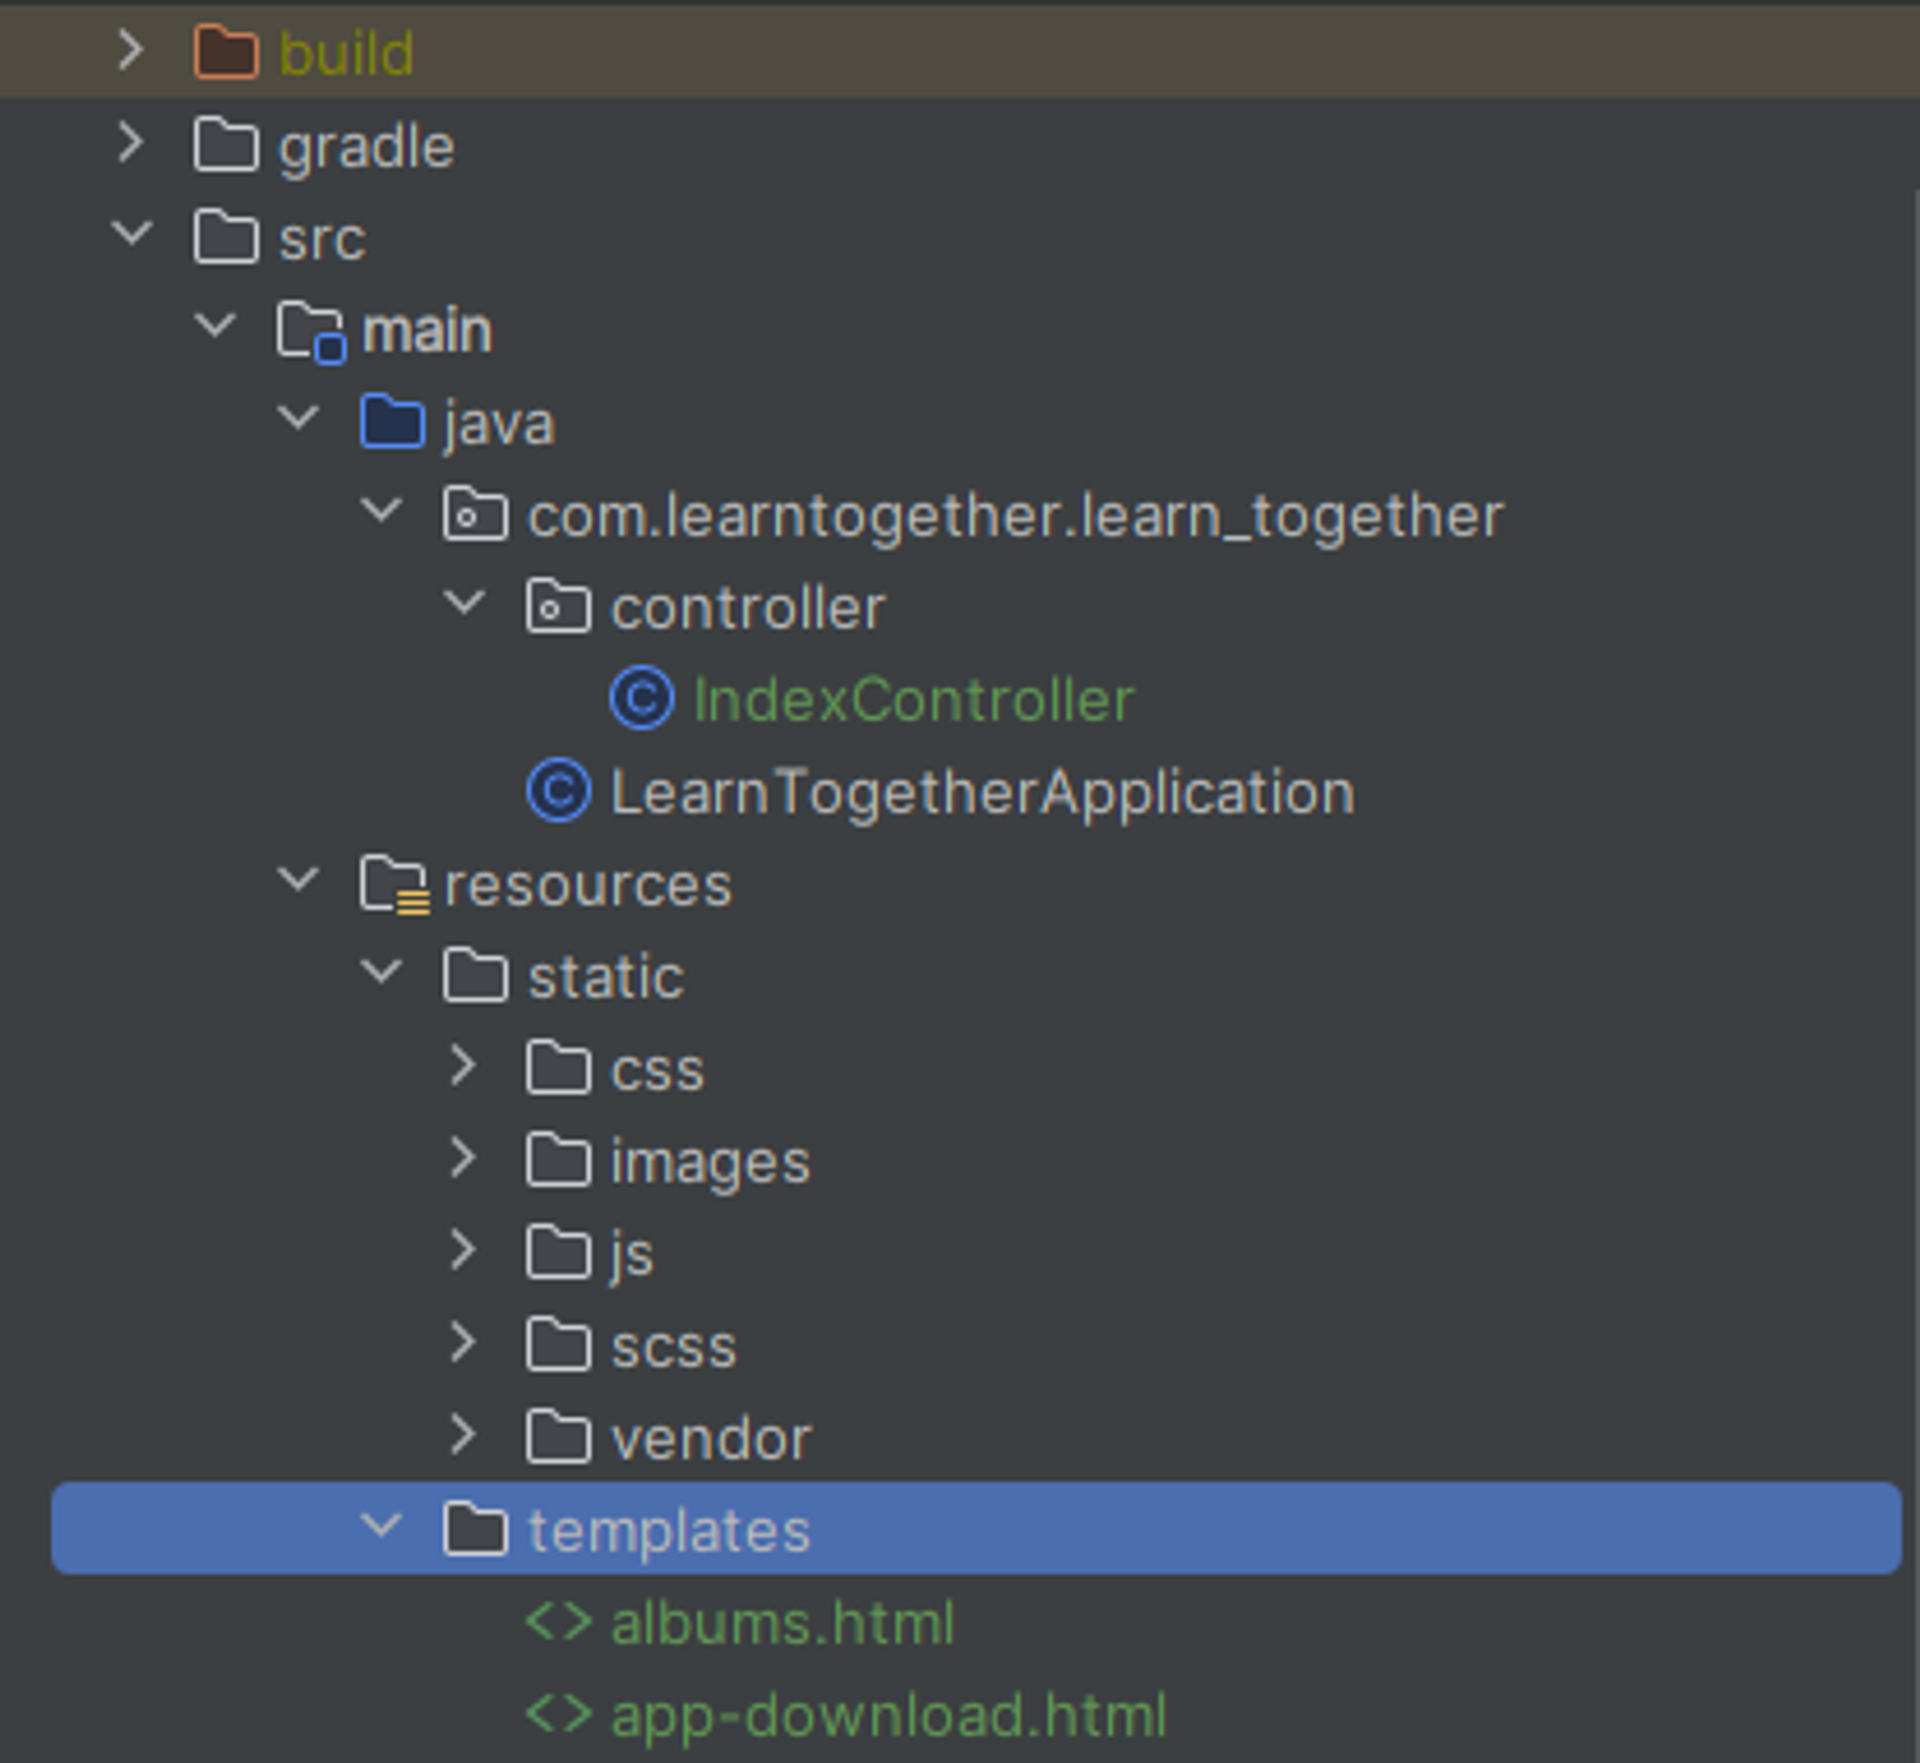
원래는 src/main/resources 안에 있는 application.properties 파일에 다음과 같은 설정을 추가해주어야 하지만,
1
spring.web.resources.static-locations=classpath:static/
이런 설정 과정을 Spring boot가 이미 수행해주고 있기 때문에 우리는 정적 파일을 그냥 static 폴더에 넣어주기만 하면 된다. 스프링 컨테이너에서 관련 매핑 된 컨트롤러를 찾지 못했을 때도 이 static 경로에서 해당 파일을 찾게 된다.
이제 어플리케이션을 다시 실행시켜본다.
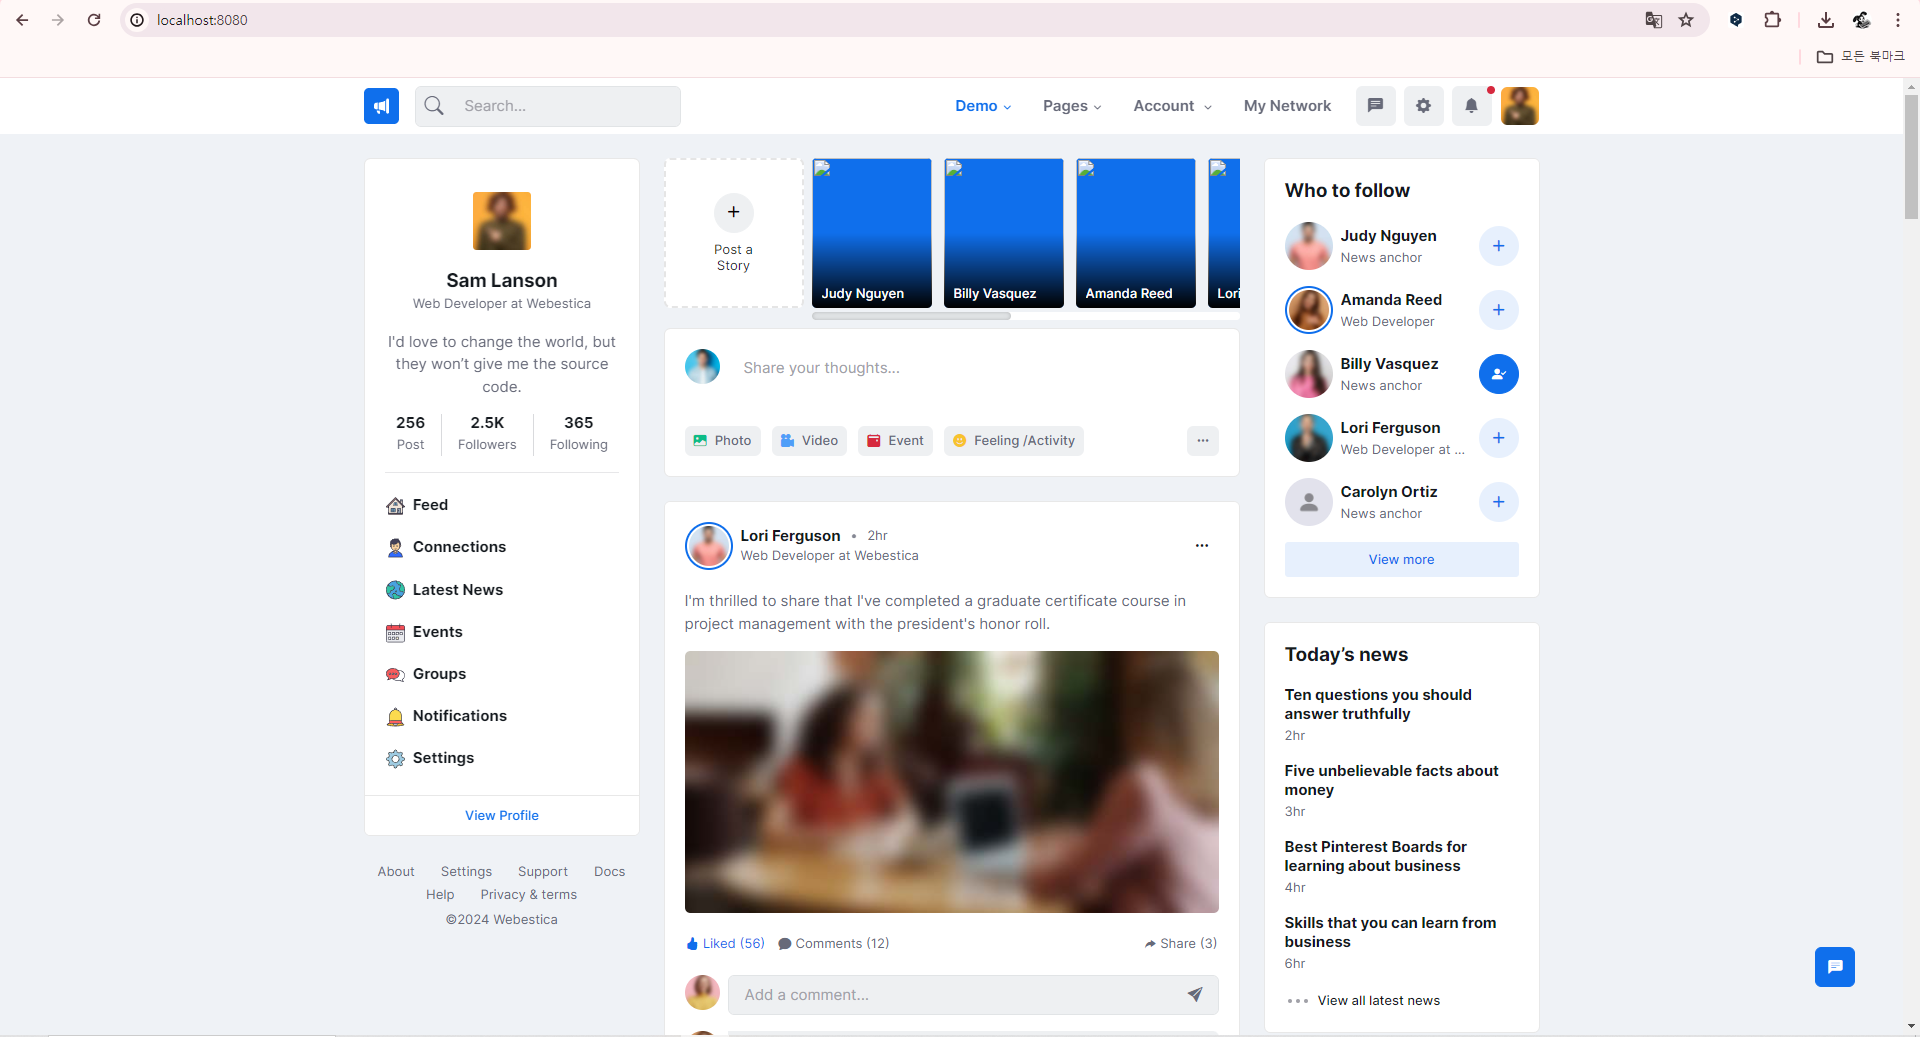
원하는 화면이 출력된다. 다음 포스팅에서는 도메인을 설계하고, 간단한 기능을 구현해보겠다!